New Patch Owners Guide: How To Attach Patch On A Hat

So, you’ve received your new Artex Group custom patch, and no doubt you love it. But maybe you’re a bit new to sewing or using a heat press and aren’t sure how to affix it to your hat. Well, you’re in luck, because our new series of articles is here to help new patch owners learn the basics of caring for their custom patch. So without further ado here is our guide to attaching a patch on a hat.

How To Sew A Patch On A Hat
Assuming you have an embroidered patch, or any other patch that can be readily sewed, then sewing the hat patch on is a quick and durable way to display your new patch. You’ll really only need a few things to get started, and it’s a very simple process:
-
Please order your patch with our sticky back adhesive. It will allow you to properly place your patch and keep it there while sewing.
-
After you’ve done that you’ll need to find a sewing needle and some thread. We recommend using bonded nylon thread and a topstitch or leather needle. The nylon thread will be tough and last longer than other threads.
-
Once you’ve cut your thread and threaded the needle be sure to tie a knot at the end. You won’t need much thread, maybe 2 feet or so.
-
Start from the inside of the hat so that your knot won’t be exposed. Try to keep your stitching even and consistent, and make sure that you stitch along the edge of your patch.
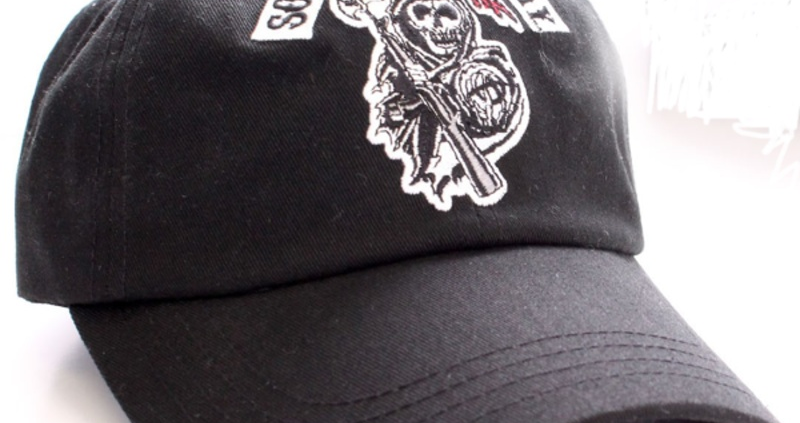
Using A Heat Press To Attach A Hat Patch
A heat press is a great way to attach a patch if you have one handy. But given the shape of a hat, it might not seem easy to affix a heat press patch. So how should you attach a patch with a heat press? The easiest way to do it is to make sure that your heat press has a mold that can fit the shape of the hat. From there it’s as easy as:
-
Laying down a finishing sheet on the press
-
Order your patch with our sticky back adhesive so you can properly place your patch and keep it there prior to heating. The sticky back also acts as a heat seal too.
-
Once the patch is in place, begin the heat cycle for approximately 15-20 seconds. We recommend a temperature range of 330-360 and a minimum of 50 pounds of pressure.
-
Make sure to give the patch and hat some time to cool down, and you’ll have a brand new stylish hat patch!
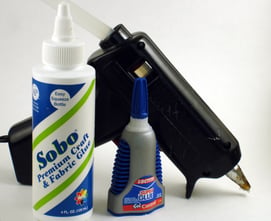
Gluing A Patch To A Hat
Though not the easiest or the most recommended method, you can attach a patch using fabric glue. One thing to note is that the glue may not last forever, but may provide a few years of adequate use. The process itself is as easy as it comes:
-
Remember to order your patch with our stick-back adhesive for additional adhesion. Then apply some glue to the back of the patch. A thin layer applied to the border and center should do the trick.
-
Apply the patch by hand to the hat and apply firm pressure for at least 30 seconds.
-
Let the glue dry for a few hours
-
Make sure to keep an eye on your patch after you apply it to make sure it’s not coming loose or starting to fall off.
Need any more help with your custom patch? If you aren’t sure how to attach the patches you’ve bought then reach out to us today. We’ll be more than happy to give you a hand with any concerns you may have!